Skip to content

Install Bakvind website

Use your browser menu and choose Install app or Add to Home Screen.

Live weather, maps and sign-in still need an internet connection.

Weather station with Bakvind

Get started with Bakvind

Choose a location, sensor and connection path. Set up the devices and test the complete chain before installing them outdoors.

Before you buy

Plan the radio path

Choose how measurements reach Bakvind. Several weather stations, each with a LoRa node, plus optional repeaters can join the same network and share one gateway. Alternatively, one weather station can use a mobile node that sends directly.

LoRa with Wi-Fi gateway

WS90 → LoRa node → optional LoRa repeater → LoRa/Wi-Fi gateway → Bakvind

Several nodes and repeaters can share the same gateway.

LoRa with mobile gateway

WS90 → LoRa node → optional LoRa repeater → LoRa/mobile gateway → Bakvind

The same LoRa network, with a mobile internet connection.

Mobile node without a gateway

WS90 → mobile node → Bakvind

One weather station sends directly over the mobile network.

How far can the radio reach?

Our test setup has 9 km between the node and the Wi-Fi gateway. Range depends on terrain, antennas and placement. Test the link where the equipment will be installed.

The equipment we recommend

Choose equipment

These are the devices we actively develop and test. A LoRa setup uses a shared gateway; a mobile node sends directly and needs no separate gateway. Bakvind provides the firmware and the website that displays measurements.

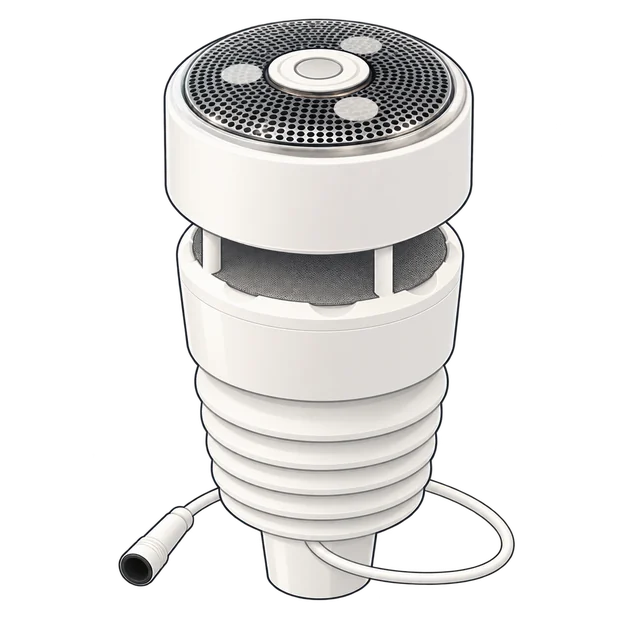
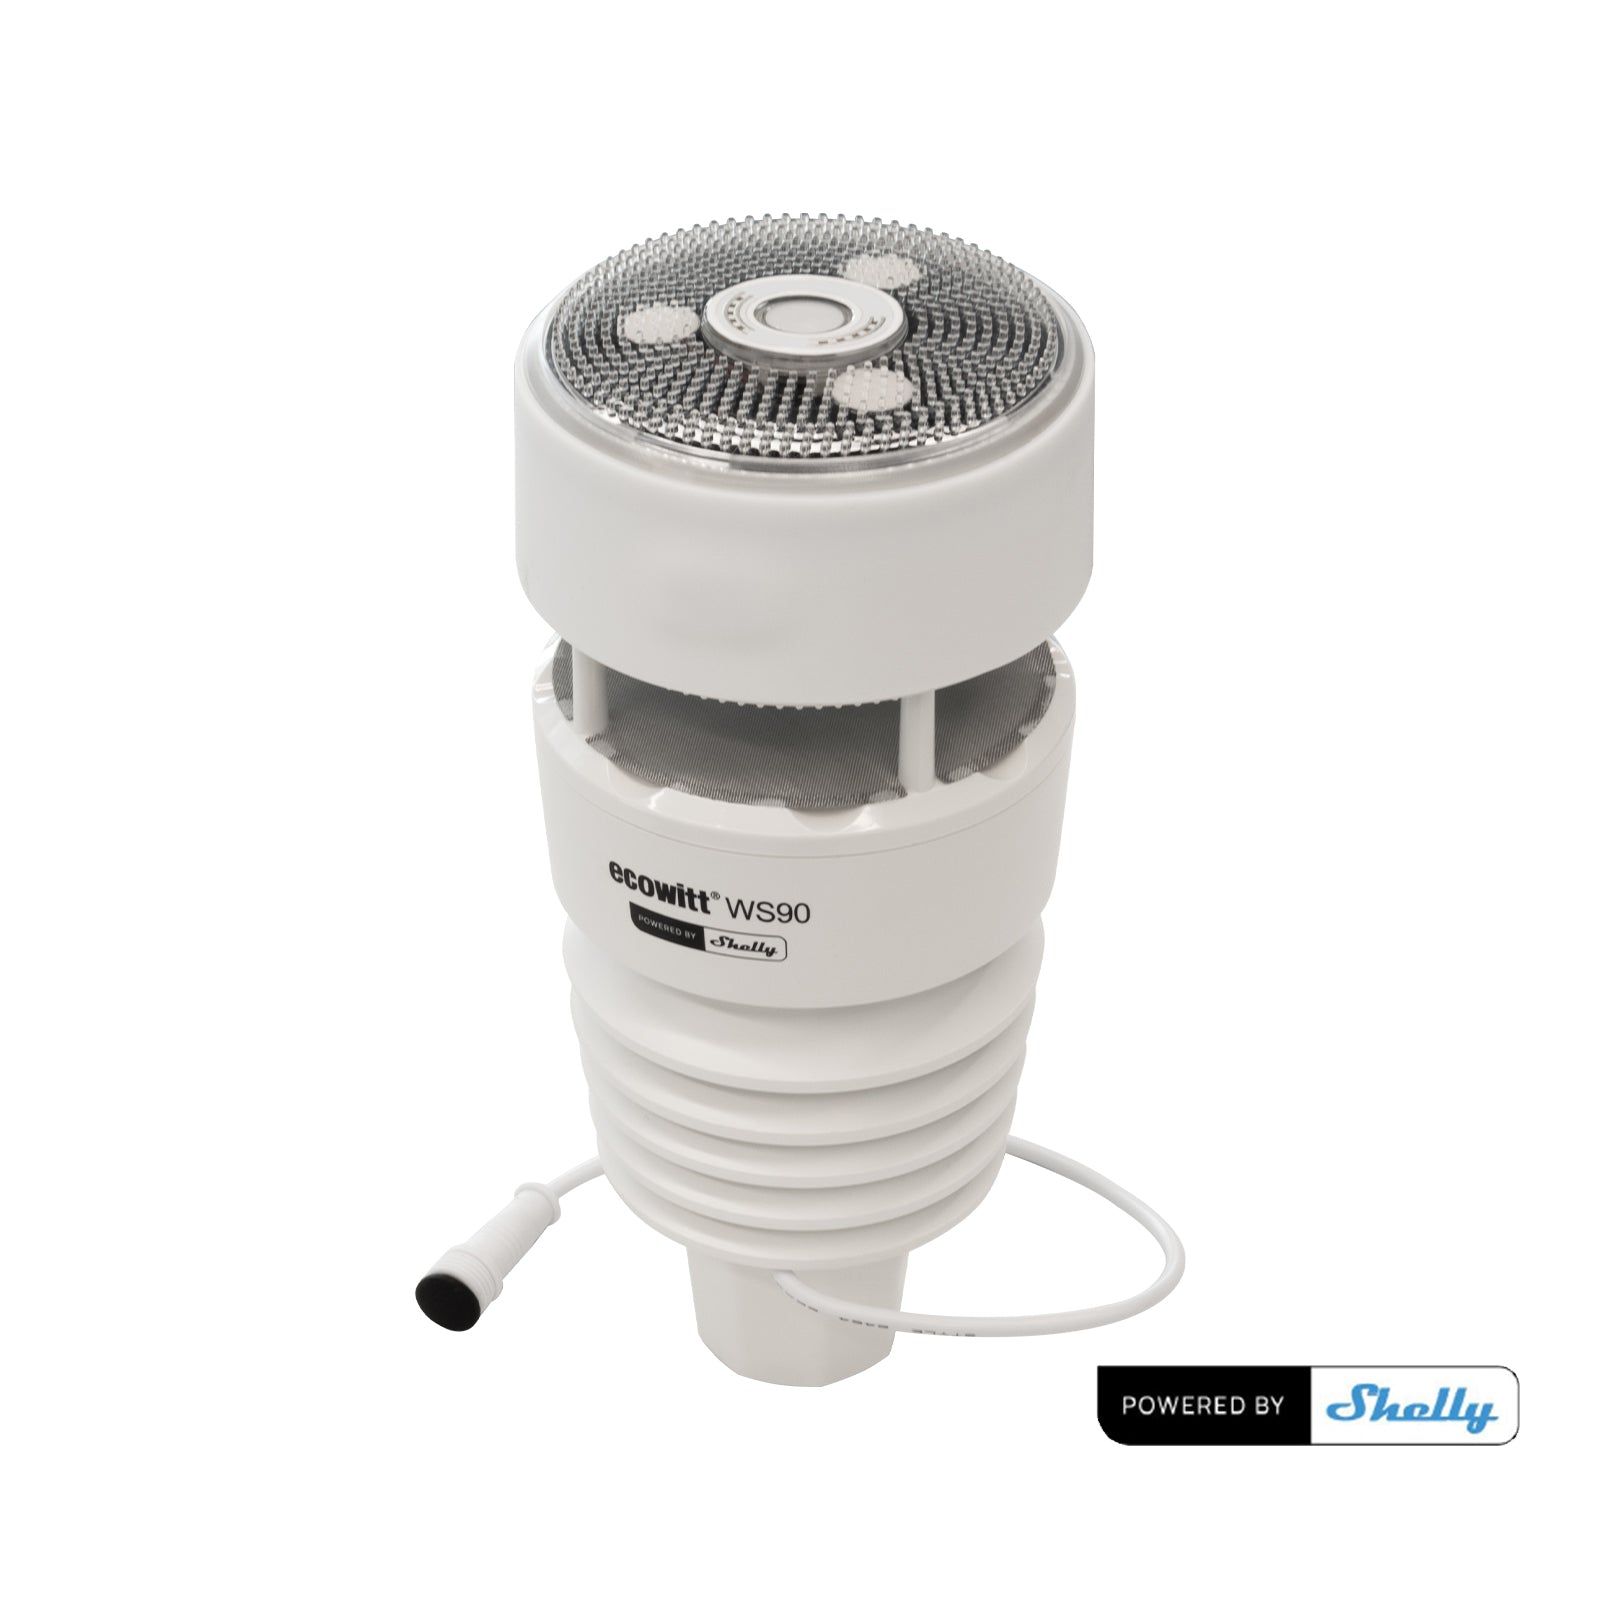
Ecowitt WS90 Powered by Shelly weather sensor.

01 / Weather sensor

Ecowitt WS90 Powered by Shelly

Measures wind, temperature, humidity, pressure, rain and light. Sends readings over Bluetooth to a nearby node.

Choose the “Powered by Shelly” version. The regular WS90 uses a different radio system.

WS90 in winter

Without external 12 V power, the heater near the wind measurement is not used. Snow and ice can prevent reliable wind measurements until the sensor thaws. The rain sensor is not heated.
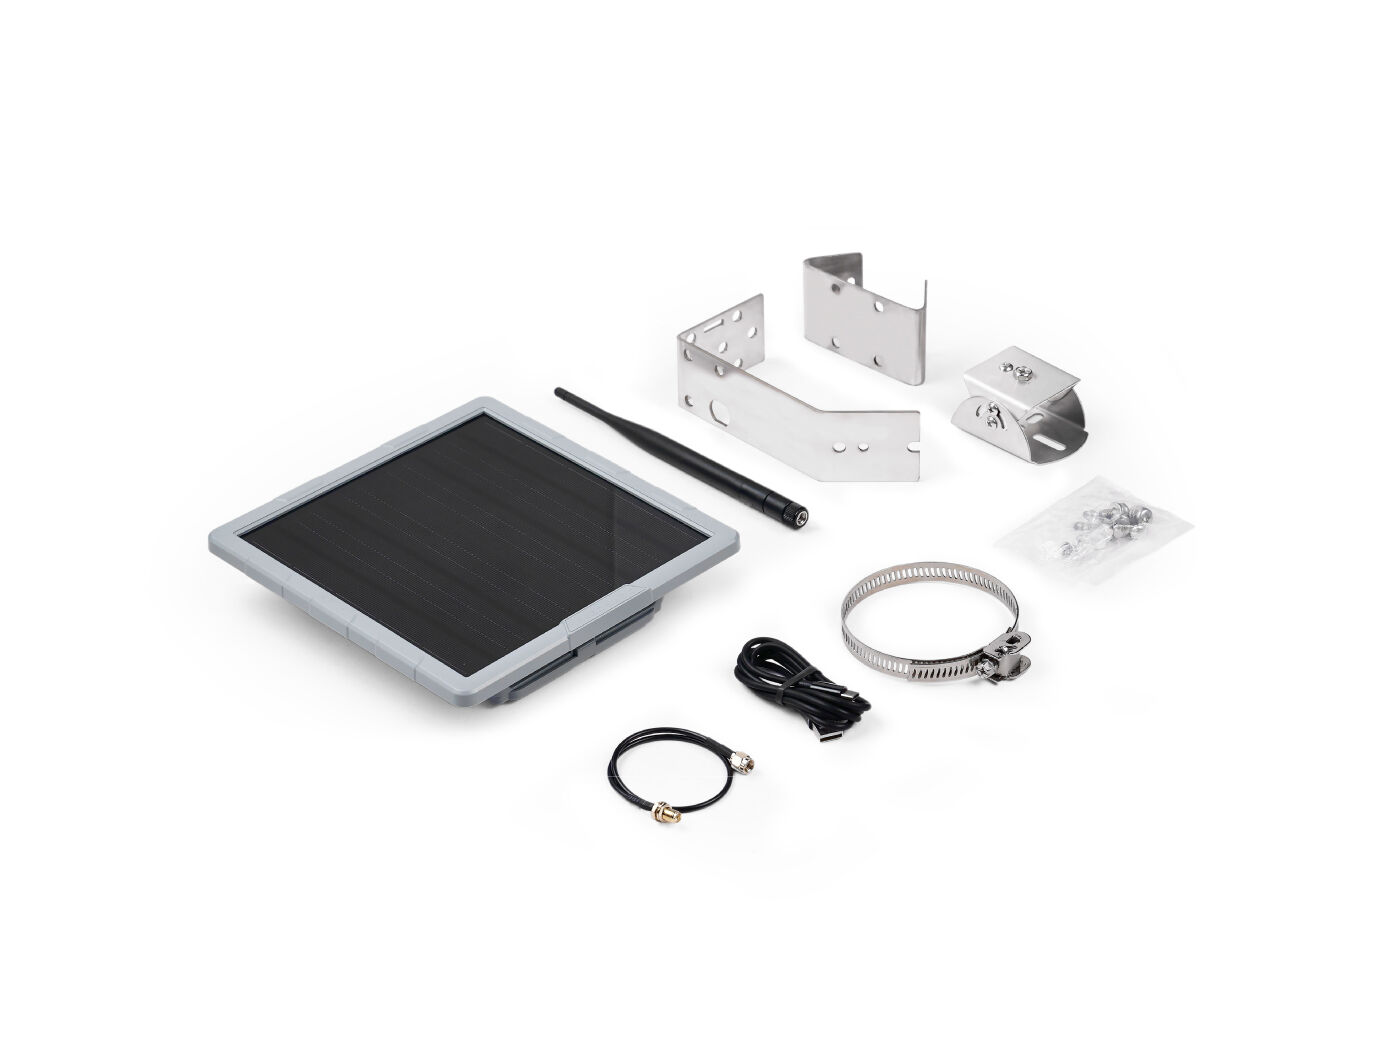
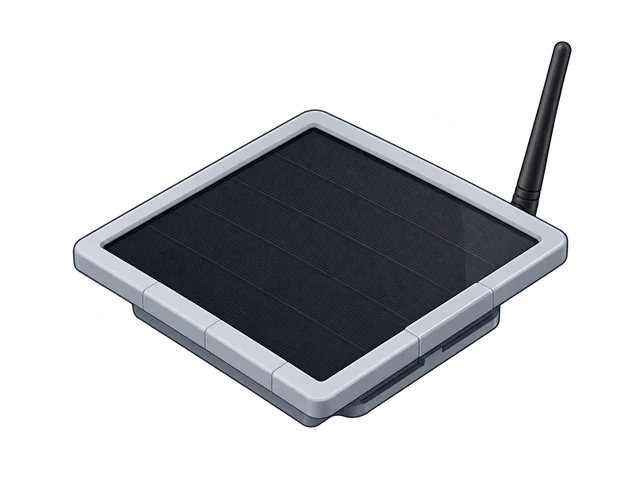
SenseCAP Solar Node P1-Pro with solar panel.

02 / Recommended node

SenseCAP Solar Node P1 / P1-Pro

Enclosed solar node. Reads the WS90 over Bluetooth and can send over LoRa, act as a repeater or serve as a mobile node with an external modem.

P1 and P1-Pro have the same Bakvind functions. Pro includes batteries and GPS; Bakvind does not use GPS. Compare the price difference with buying batteries separately.

First installation
USB or UF2
Upgrade
USB or Bluetooth OTA
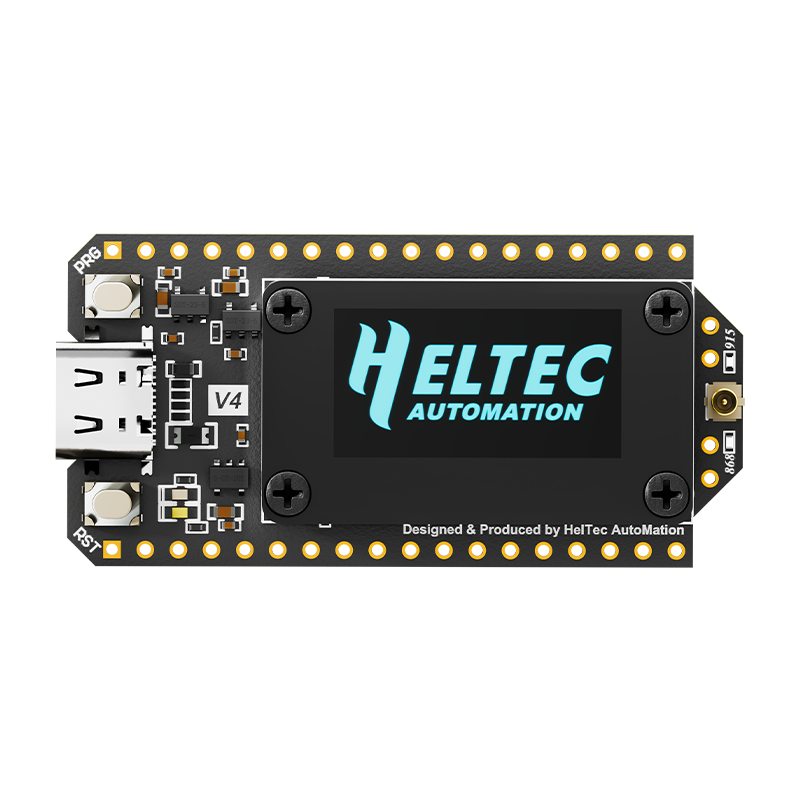
Heltec WiFi LoRa 32 V4 board with OLED display.

03 / Recommended gateway

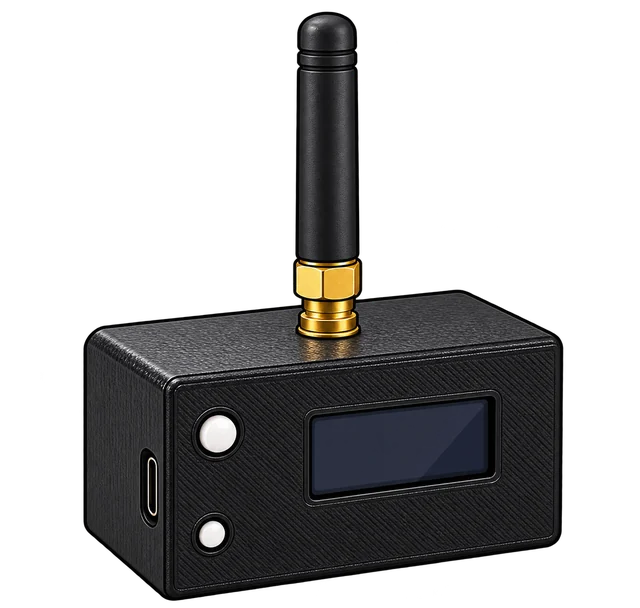
Heltec WiFi LoRa 32 V4

Receives LoRa messages from the nodes and sends them to Bakvind over Wi-Fi, and can also read a nearby WS90 over Bluetooth. Needs permanent power, Wi-Fi and radio contact with the nodes.

Choose V4 with an OLED display and the correct frequency variant. Bakvind’s 3D-printable enclosure is available below.

First installation
USB web flasher
Upgrade
USB, Bluetooth OTA or Wi-Fi OTA

Also supported

Other options

RAK4631 is an option for self-builders. The original Ecowitt WS90 with GW2000 has its own connection path.

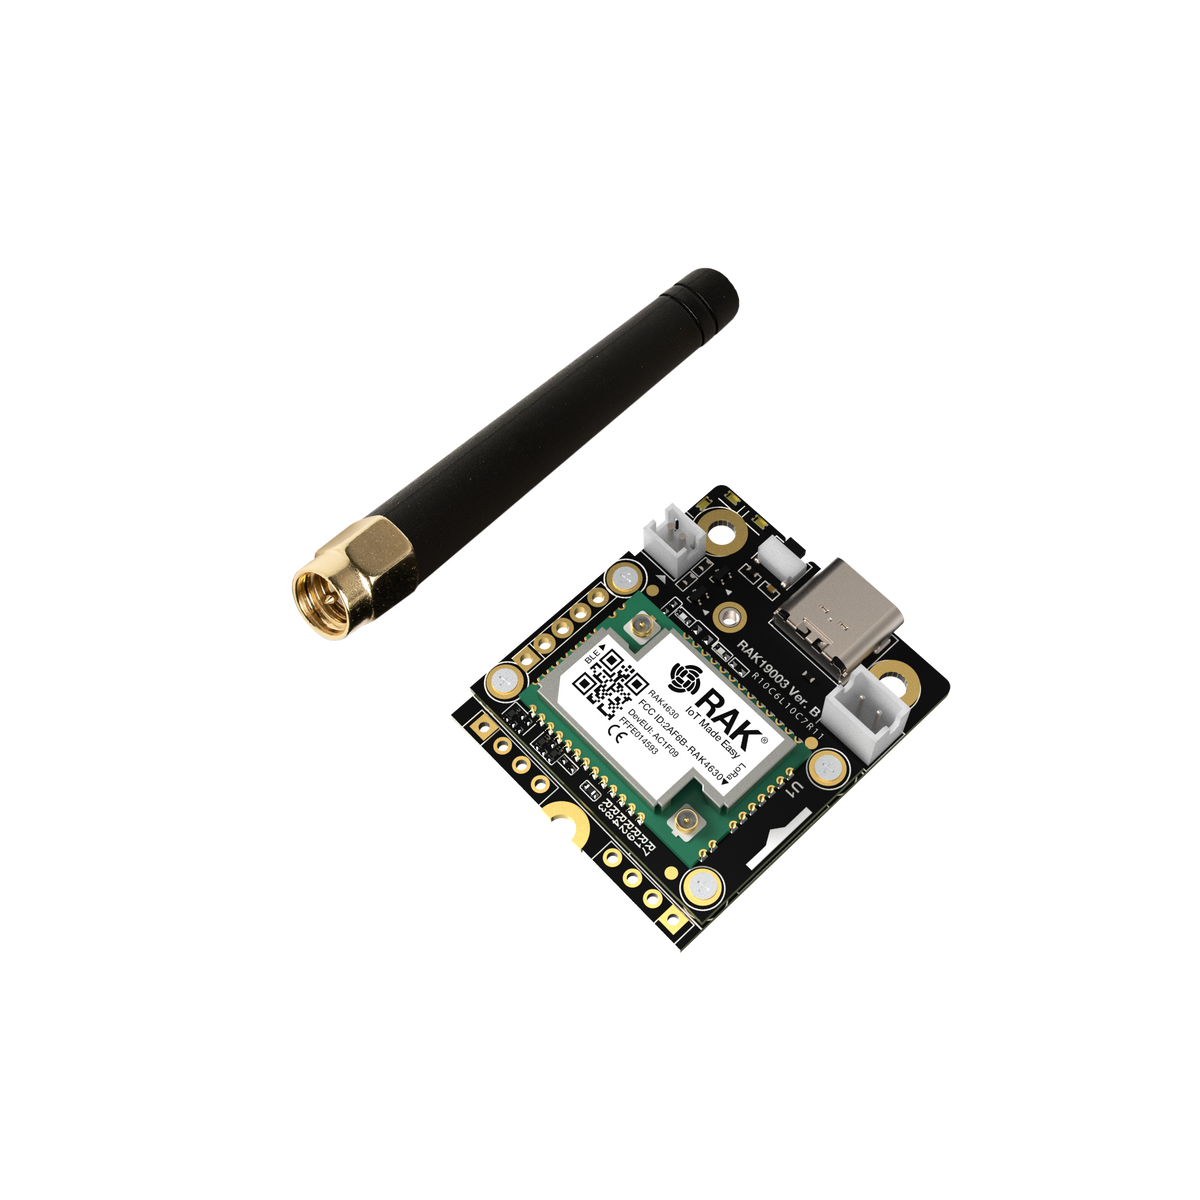
RAK4631 mounted on a RAK19003 WisBlock base board, with an antenna beside it.

Alternative node for self-builders

RAK4631 WisBlock

Mount RAK4631 on a WisBlock base, usually RAK19003, to build your own node. It can read the WS90 over Bluetooth, send over LoRa or act as a repeater.

The same firmware covers LoRa node, repeater and mobile roles. Mobile roles need an external SIM7080G modem. We provide firmware but do not actively develop and test on RAK4631.

First installation
USB serial DFU or UF2
Upgrade
USB or Bluetooth OTA
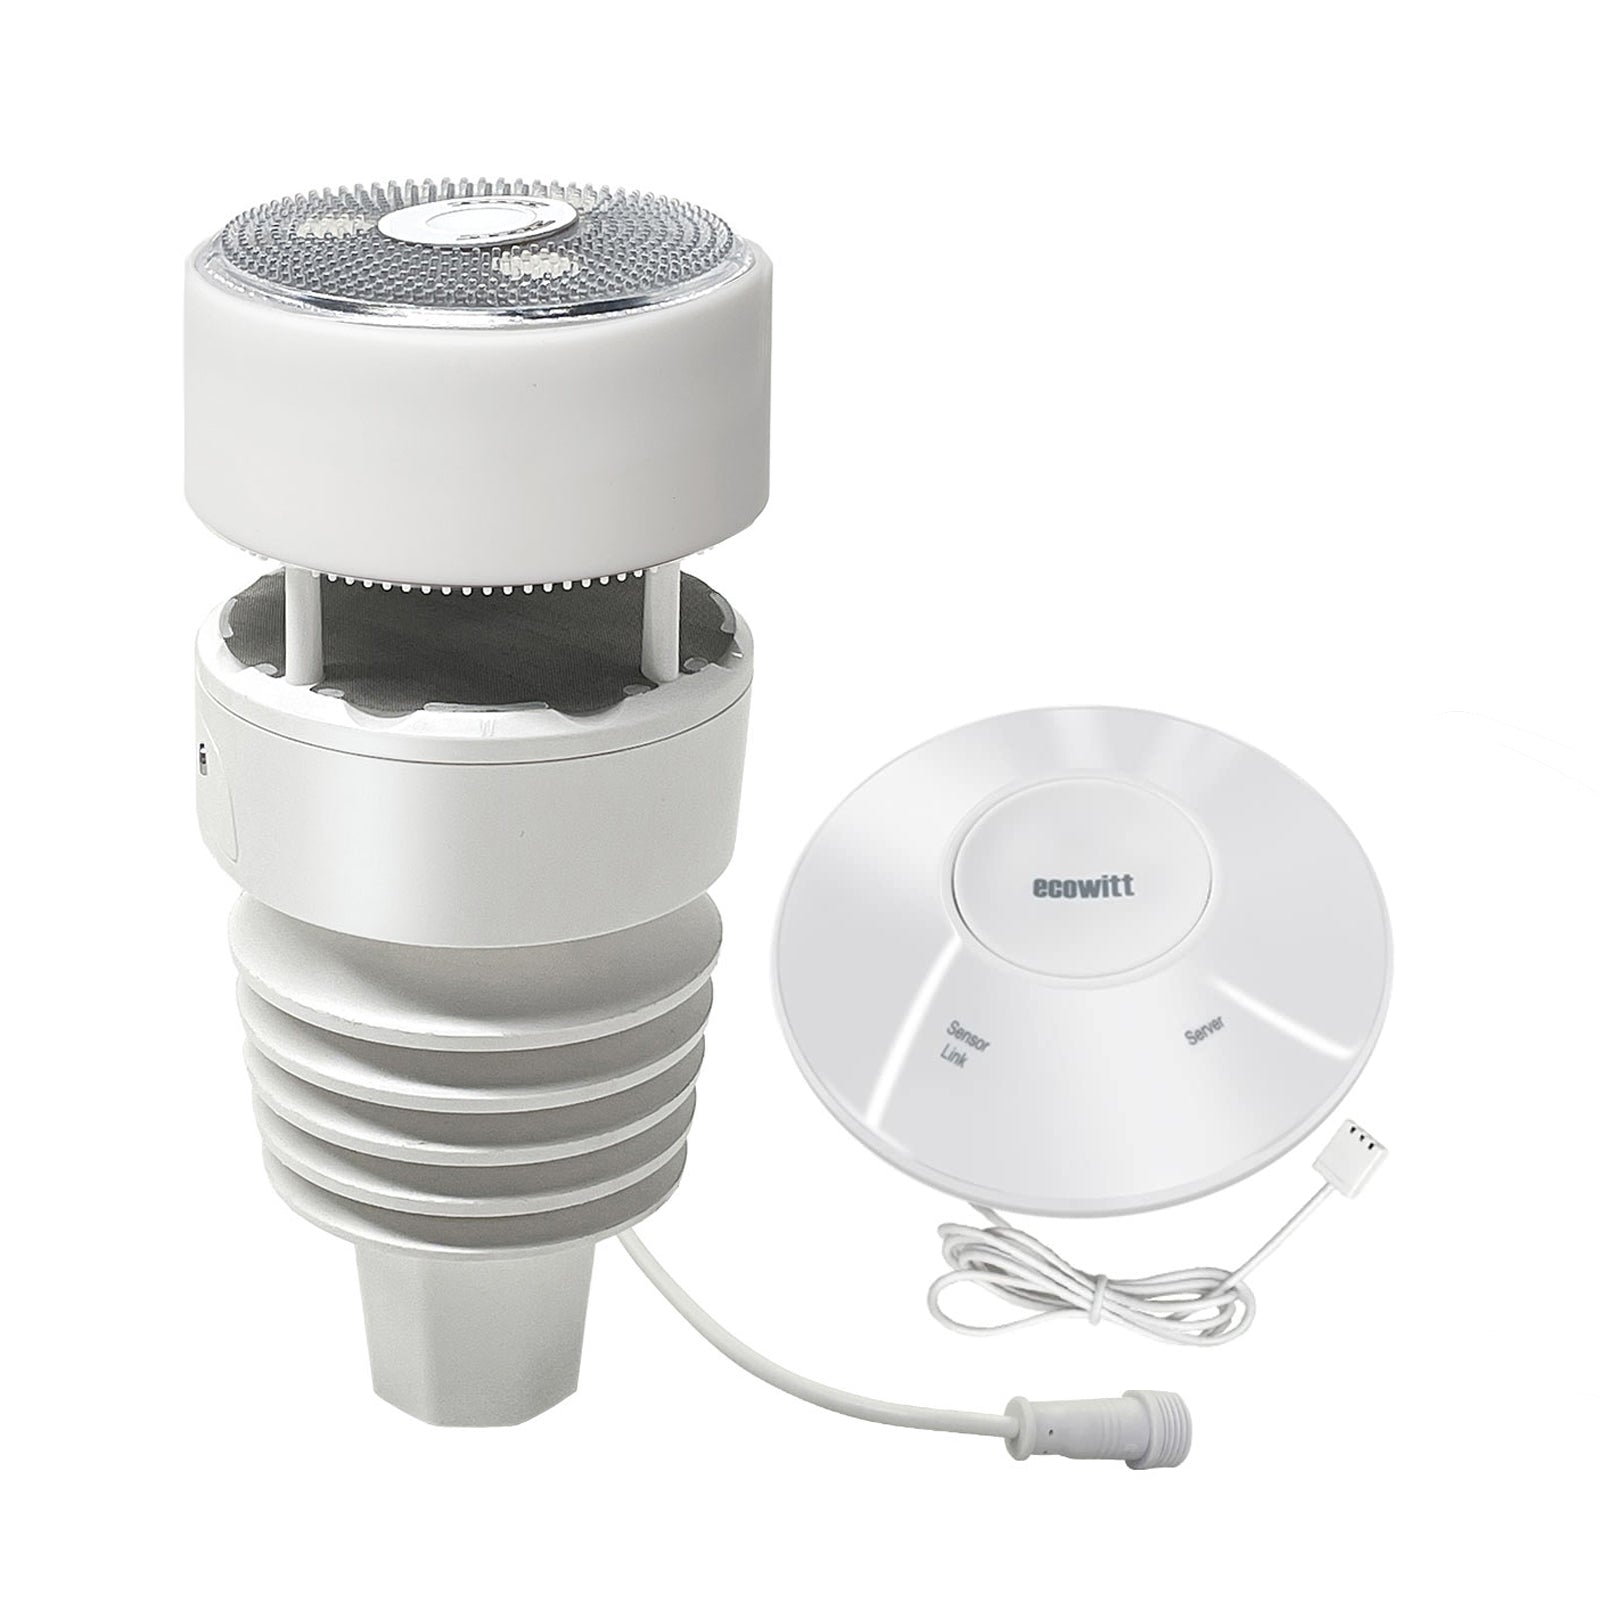
Original Ecowitt WS90 weather sensor beside the GW2000 base station.

Alternative weather station

Ecowitt WS90 + GW2000

The original Ecowitt WS90 weather station is used with the GW2000 base station. A separate ESP32 gateway reads measurements from GW2000 and sends them to Bakvind.

GW2000 and the ESP32 gateway must be on the same local network. This WS90 variant does not use the Bluetooth and LoRa nodes above.

First installation
USB on the ESP32 gateway
Upgrade
USB

From hardware to measurements

Set up and test

  1. Get access

    Contact Bakvind for an account and to have your weather station created.

    Contact us →
  2. Set up the devices

    Sign in, create the nodes and install the right firmware. Each node receives its own Node ID and configuration. First installation uses USB; later updates can be wireless where supported.

    Sign in →
  3. Connect to the internet

    Give the Wi-Fi gateway the network name and password. For a mobile node or mobile gateway, check the SIM card and mobile coverage.

  4. Test before mounting

    Run the sensor, node and gateway together somewhere accessible. Confirm that fresh weather data appears on the correct station, and test the radio path before installing outdoors.