 Bakvind
Galvanised steel tube below
The strong main section provides mounting points for guy wires and equipment and withstands more load than the upper tube.
Building guide / Bakvind weather station mast
We at Bakvind have built our own weather station mast and share the design as inspiration for others. There are many good ways to build a mast. The essential requirement is a 25 mm diameter tube for mounting the weather sensor.
This is our solution, not the only correct one. Adapt the materials, height and anchoring to the site where the mast will be installed.
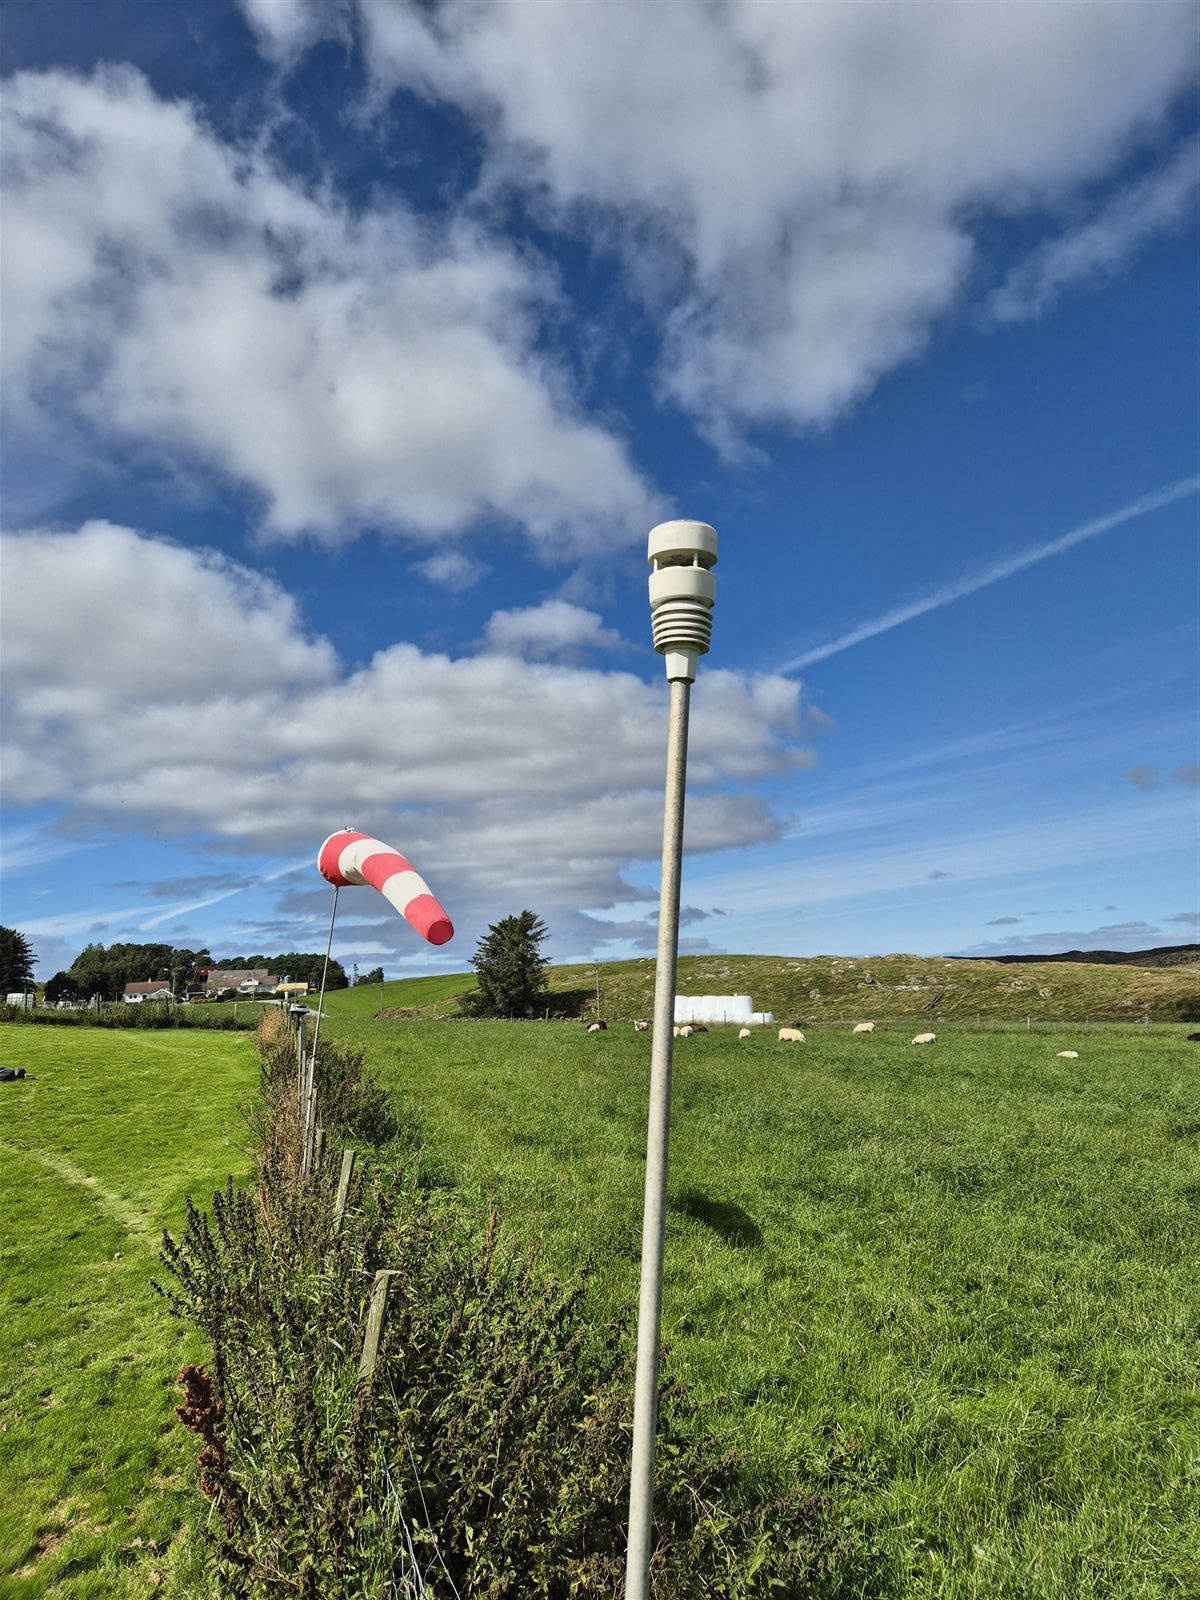
The construction
Our mast is based on parts from Biltema, a large automotive-accessory chain in Scandinavia. If you live elsewhere, use the ideas as a starting point and find equivalent parts locally.
The lower and longer section is a galvanised steel tube sold as an antenna mast section. It is strong and makes it easy to attach guy wires, the radio node and other equipment. The tube has flanged ends and can be joined to an additional section if a taller mast is required. The short upper section is a 25 mm diameter aluminium tube that fits directly into the weather sensor mount.
Between the tubes we use a 3D-printed adapter that is tapped into place. The adapter can also be secured with a screw. Another option is to adapt the tubes so they can be screwed directly together without an adapter.
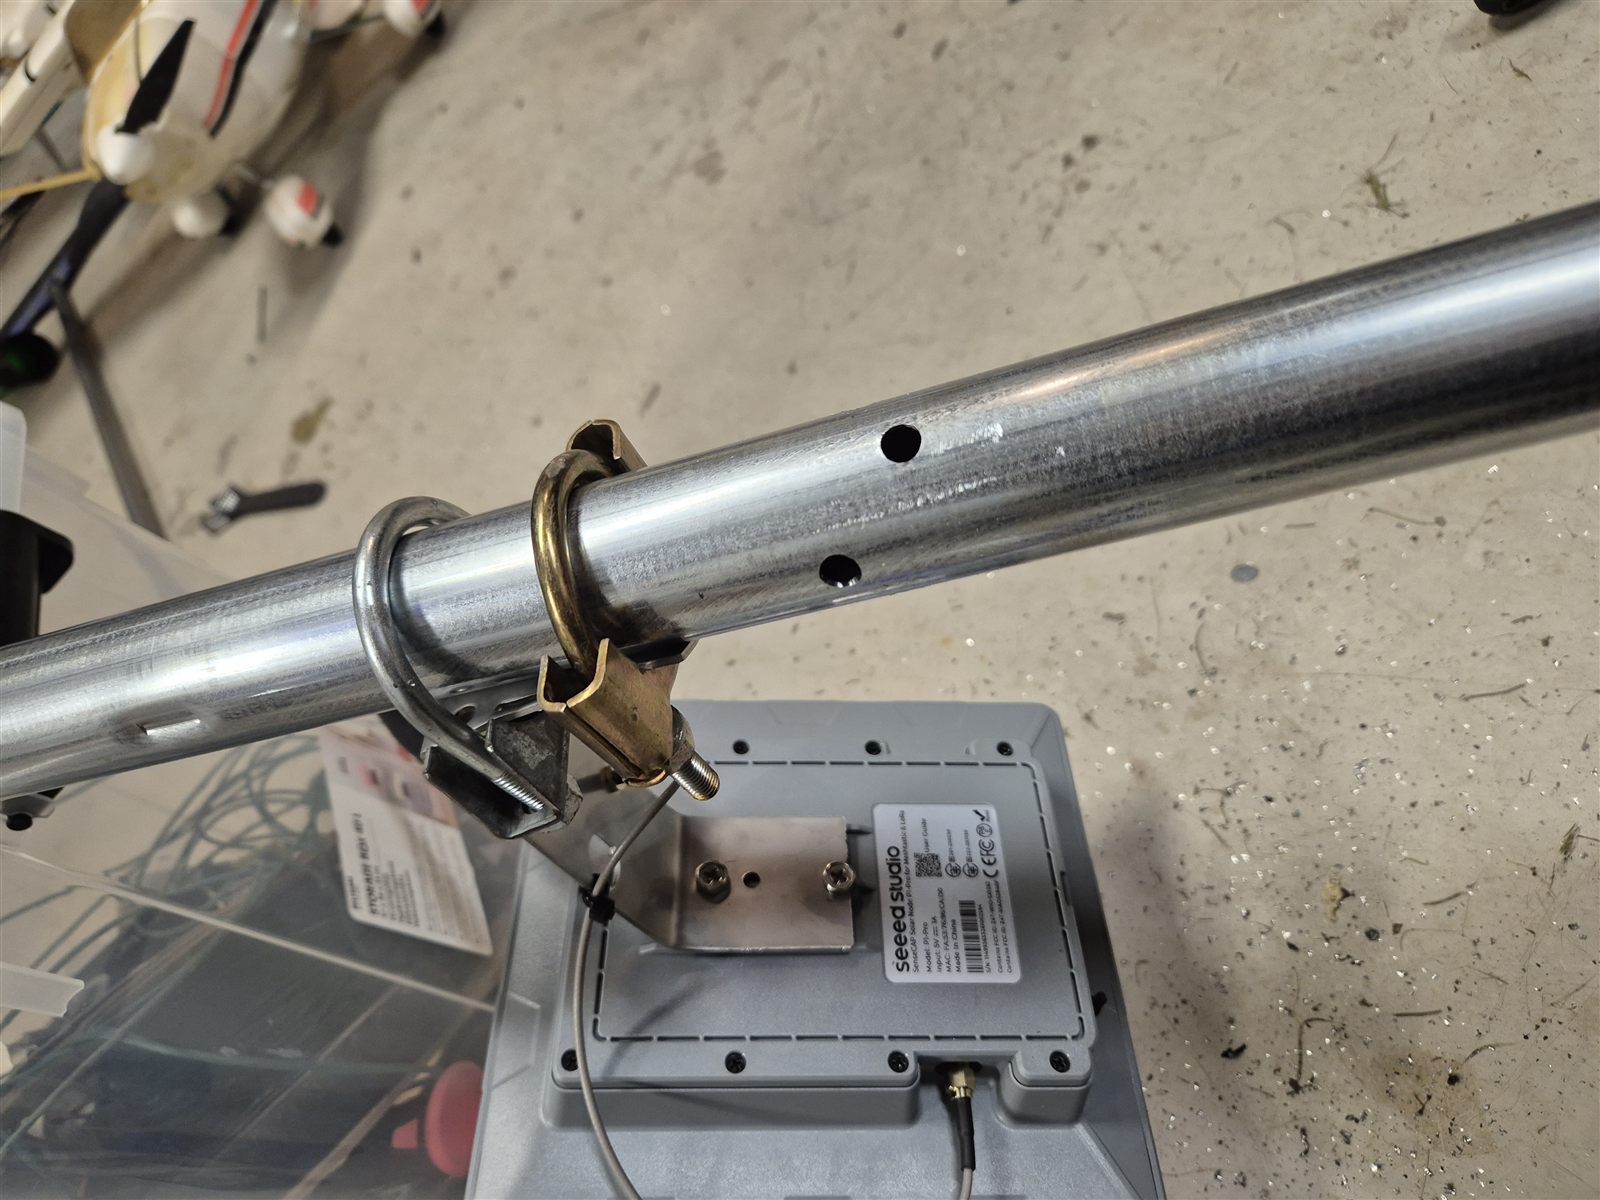
Three M6 eye bolts with nuts serve as guy attachment points through the mast tube. For installation on rock, steel wire runs from the eye bolts to three anchors made from M8 expansion bolts and eye nuts in the rock.
In soil or other soft ground, Biltema’s ground anchor can be fitted directly to the mast tube. We also recommend guying it with ordinary tent guy ropes and pegs.
01 / In the workshop
The mast tube and aluminium tube are common to both installation methods. Prepare the holes you need before taking the mast to the site.
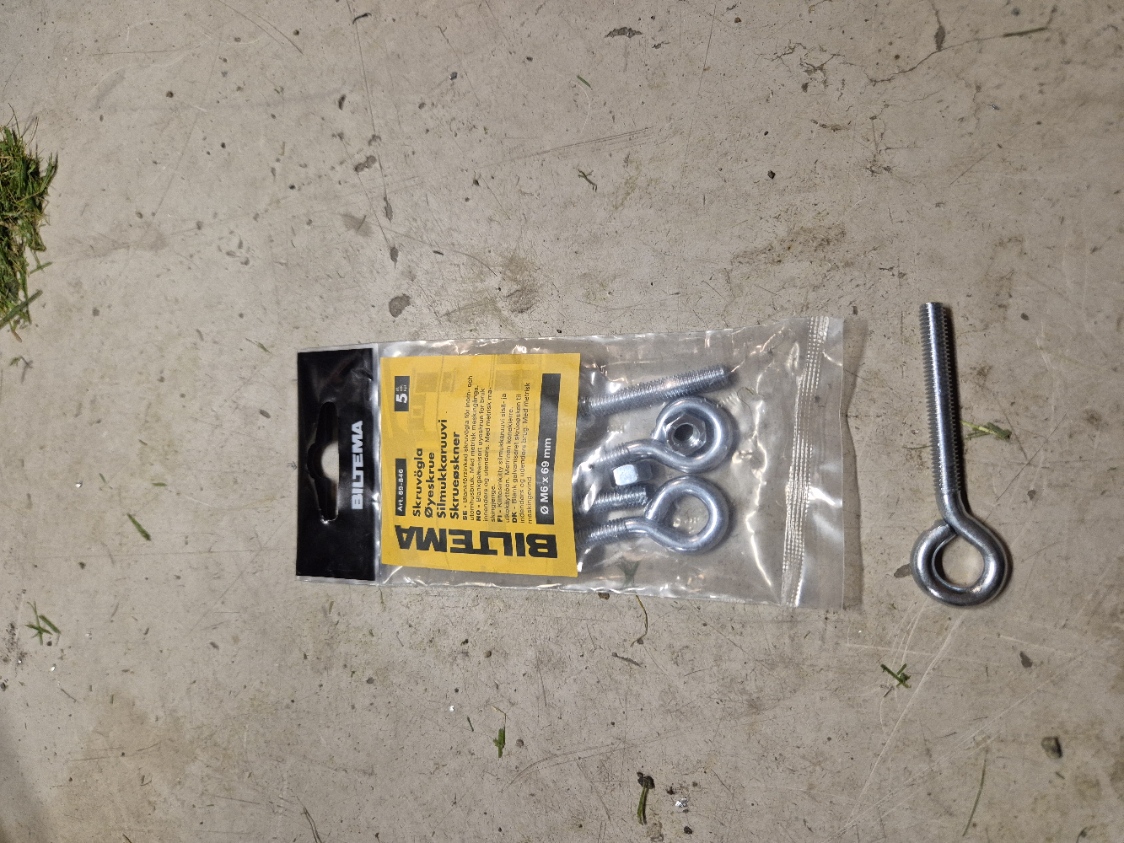
The supplied bracket does not fit the mast tube directly. We remove the part intended to mount against the mast and do not install the tilt mechanism. Clamp the main bracket directly to the mast tube with two pipe clamps or hose clamps. If the solar panel needs a different angle, bend the main bracket to the required angle.
In the Northern Hemisphere, the solar panel should face south. Set the angle so the panel receives good sunlight throughout the year, paying particular attention to the lower sun in spring and autumn at northern latitudes. Avoid shade from the mast, sensor and vegetation.
The node is normally mounted on the same mast as the sensor. The expected Bluetooth range is up to 30 metres, so other placements are also possible.
Consider painting the mast matt black before installation. This prevents the shiny surface from reflecting sunlight and makes the mast less conspicuous in the landscape.
The Seeed Studio Solar Node antenna has a joint that allows its angle to be changed. We have made a 3D-printed sleeve that slides over the joint and keeps the antenna upright when the node is mounted on the mast.
Download the antenna-sleeve STL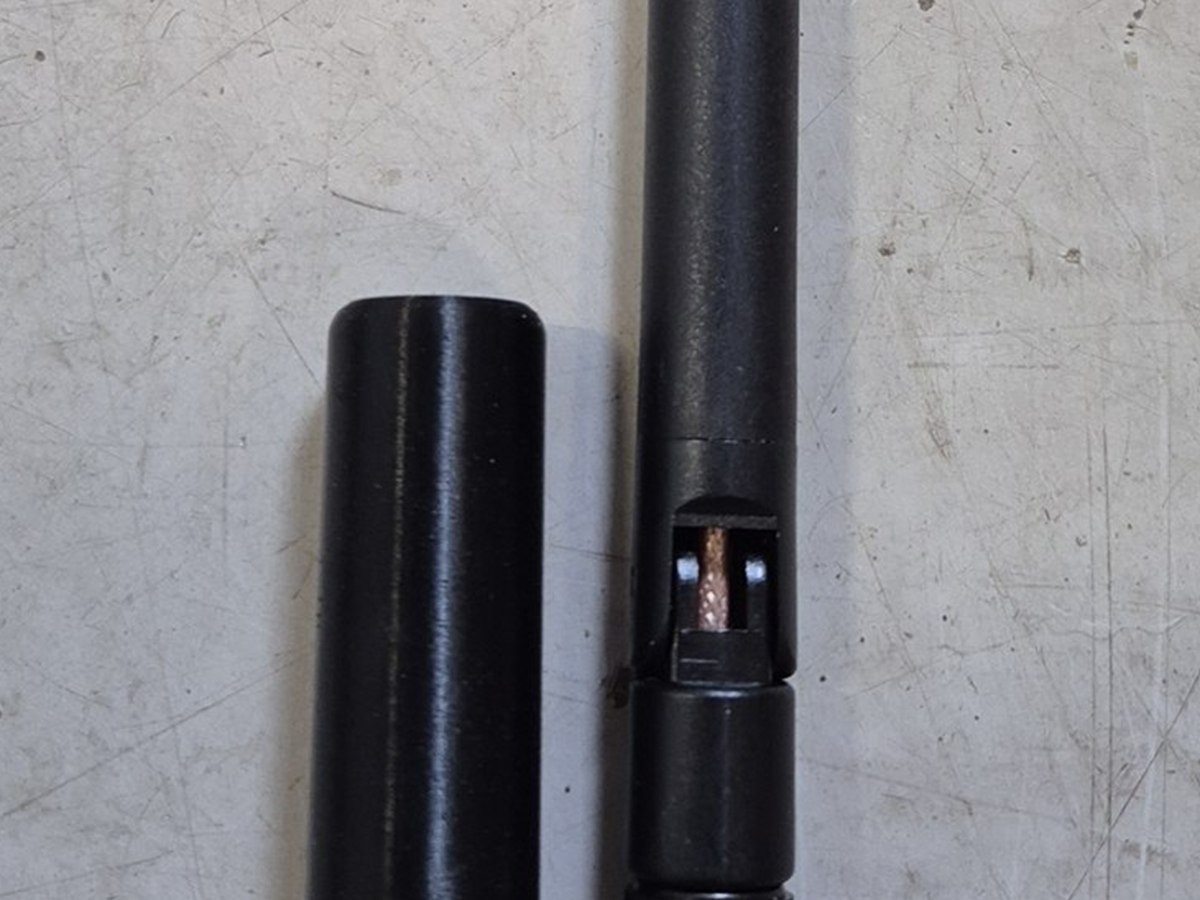
The adapter joins the galvanised steel tube sold as an antenna mast section to the 25 mm diameter aluminium tube. Print it from the STL file and tap it into place between the tubes. The adapter can also be secured with a screw.
Download the adapter STL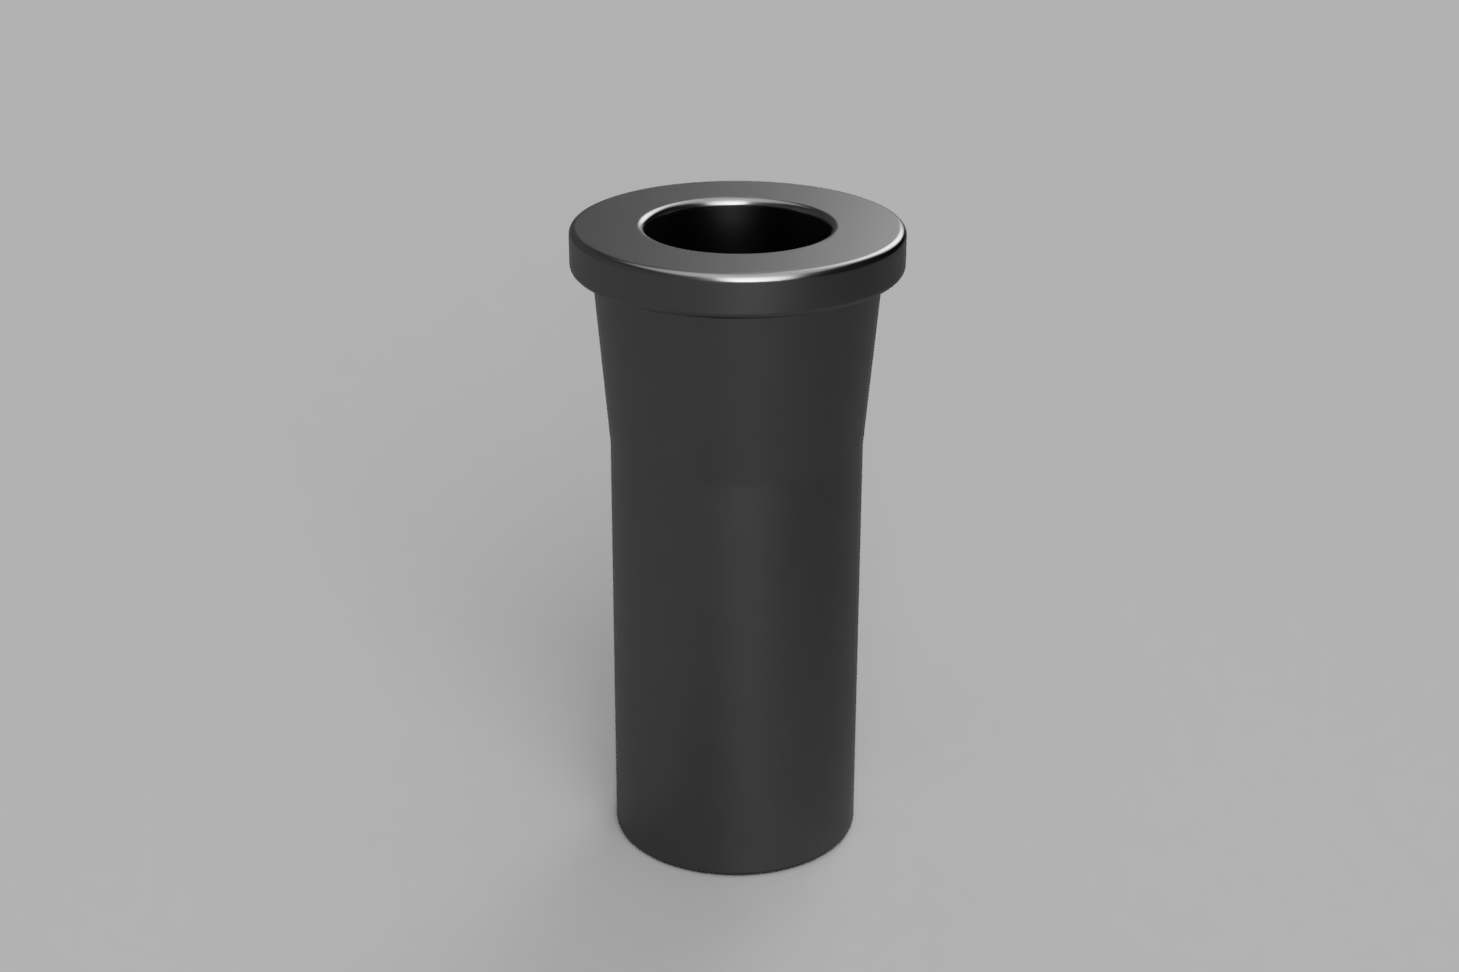
Slide the drilling jig over the mast tube and use it to mark and drill the holes for the three M6 eye bolts. It provides the correct angle and spacing between the guy attachment points.
Download the drilling-jig STL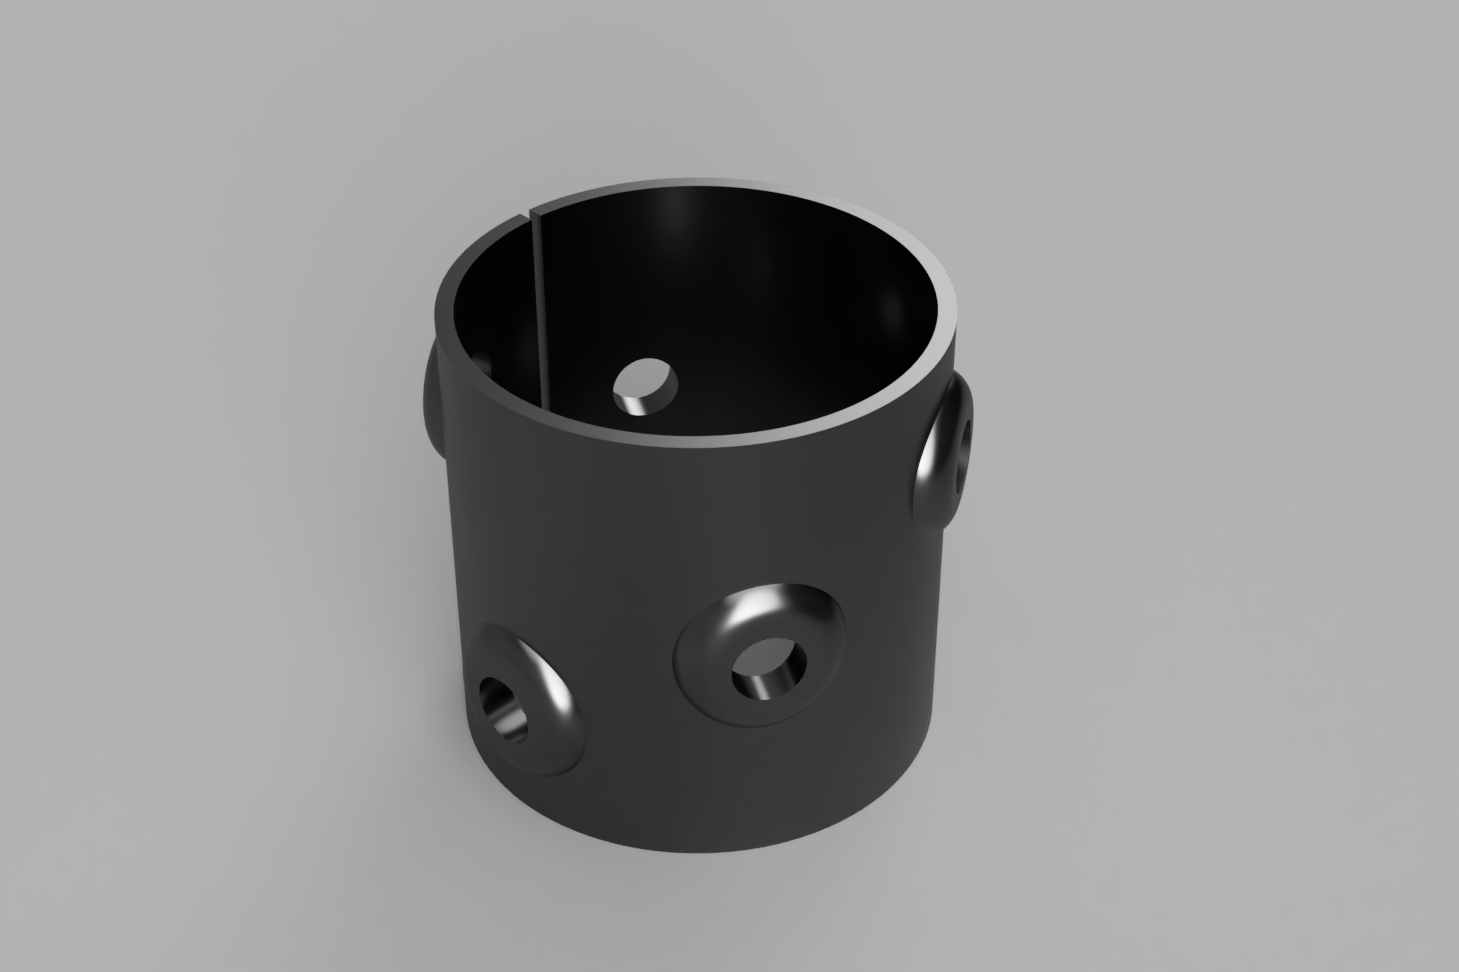
02 / At the site
Choose the method that suits the ground conditions. The rock version uses guy wires. For installation in soil, assess the need for guy ropes based on location and stability.


03 / Final checks
Check that the mast and its attachments are secure and that fresh measurements appear on the correct station page. Check the wind direction after aligning the sensor, and plan inspections and maintenance.
Parts and accessories
Start with the common parts and add anchoring and guy ropes or wires for your site. Quantities refer to individual parts, except pipe clamps and guy ropes, which are listed in packs. Wire rope is listed in metres; adjust its length to suit the site.
Mast tube, upper tube and one set of two pipe clamps for the Solar Node.
Mast on a ground anchor. Add guy ropes if needed.
Mast secured with expansion bolts and guy wires.
Also add the guy attachment points on the mast itself.
Three M6 eye bolts are fitted through the mast tube with nuts. They are required whenever the mast uses guy ropes or wires, whether installed in soil or on rock. For the ground-anchor version they are optional, because the mast can also be used without guy ropes.
Add these to the ground-anchor version if using guy ropes. You will also need the guy attachment points on the mast.
The complete weather station
See Hardware to choose a sensor and node, or Get started for device setup and firmware installation.